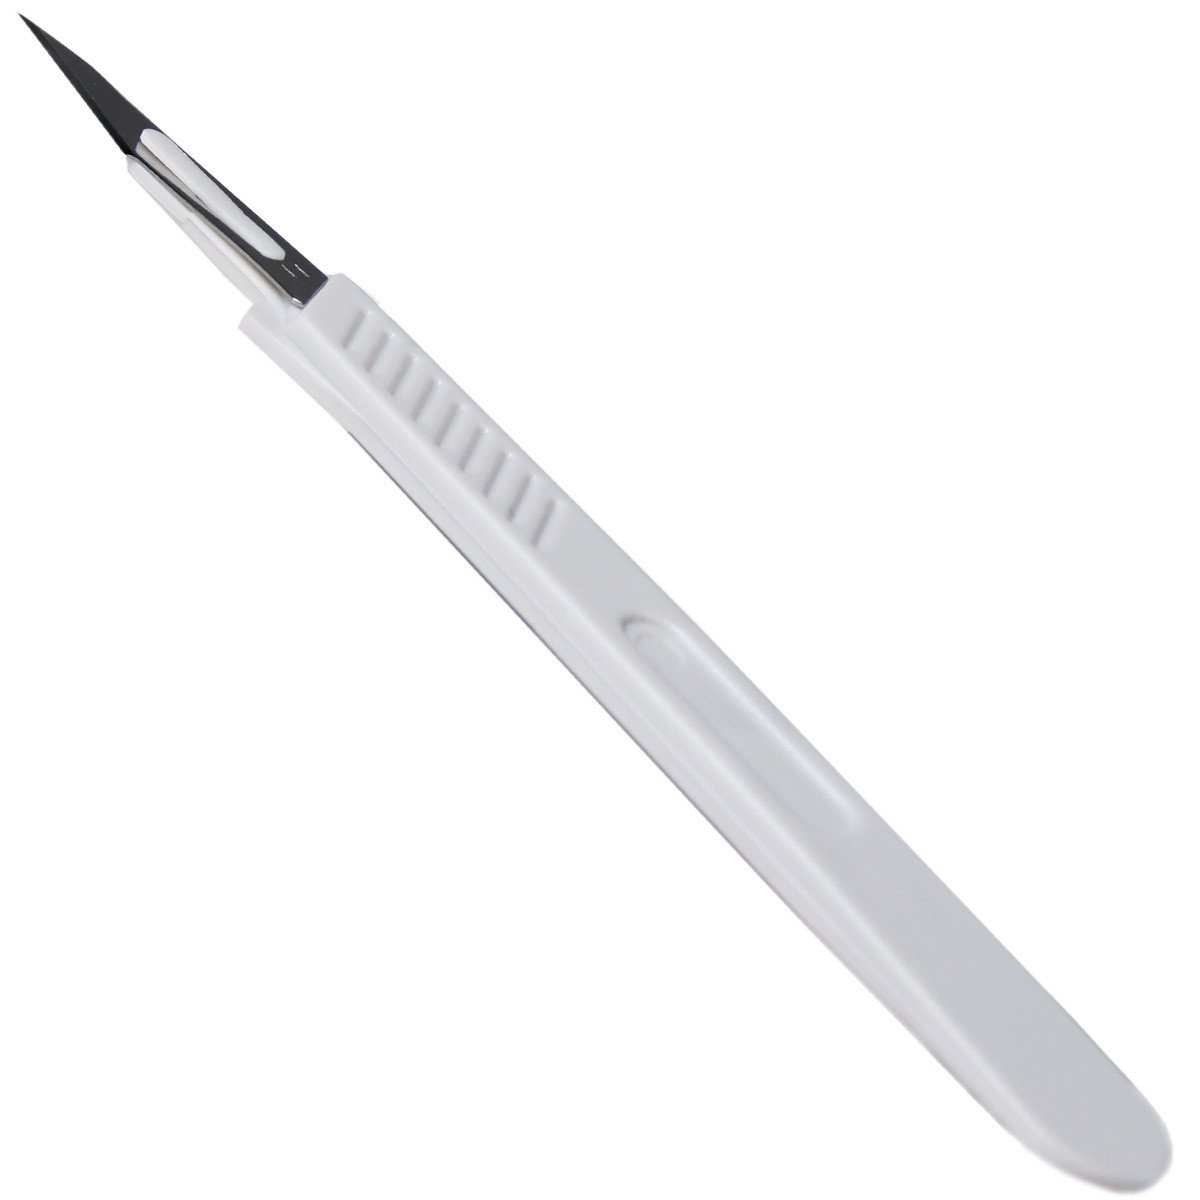
Sterile surgical scalpels are used to take cuttings from plants- fresh Surgical Scalpels need to be used every time that you decide to take new cuttings. Utilising a sterile scalpel prevents pathogens from infiltrating the vascular network of the new cutting.
PLEASE NOTE: Our scalpels are strictly for Agricultural use ONLY.
Taking cuttings is one of the most popular ways to propagate a plant. Also referred to as cloning, it offers the ability to get multiple plants that are genetically identical to the mother plant. Many people feel intimidated by the process, and are a bit leery to attempt it. If you are one of those people, relax, it’s a relatively easy process.
What follows are step by step instructions for a simple procedure that works for both hardwood and softwood plants. (NOTE: Not all plants can be cloned in this manner. Some plants are virtually impossible to get cuttings from, even for experts.)
Why Take Cuttings?
There are several reasons that you may want to clone your plant, one being, that it does not require seeds. Cloning may be your only option for obtaining a certain variety of plant when no seeds are available. Another reason is to maintain consistent quality control of your crop. Every seed, like every human being, is slightly different. Aside from identical twins, genetically, no two people are exactly the same. DNA works in plants the same way it does in humans. So if you have a plant that is just what you want it to be, you can take cuttings and have as many perfect clones of your special plant as you want.
Another big factor which makes cloning so popular is that in most cases, it’s much faster than starting from seed. The majority of plant species will produce a rooted, growing plant from a clone before the seeds of the same species can even sprout, saving a lot of time.
What You’ll Need
- A SINGLE EDGE RAZOR BLADE – Must be sharp!!
- BACK-UP BLOCK – A piece of Styrofoam, wood or plastic approximately 2″x2″.
- SHOT GLASS – Or similar small glass or plastic container.
- GROWING MEDIUM – Jiffys, Rockwool or Oasis cubes, Pro-mix, coconut fiber or one of several other suitable growing media.
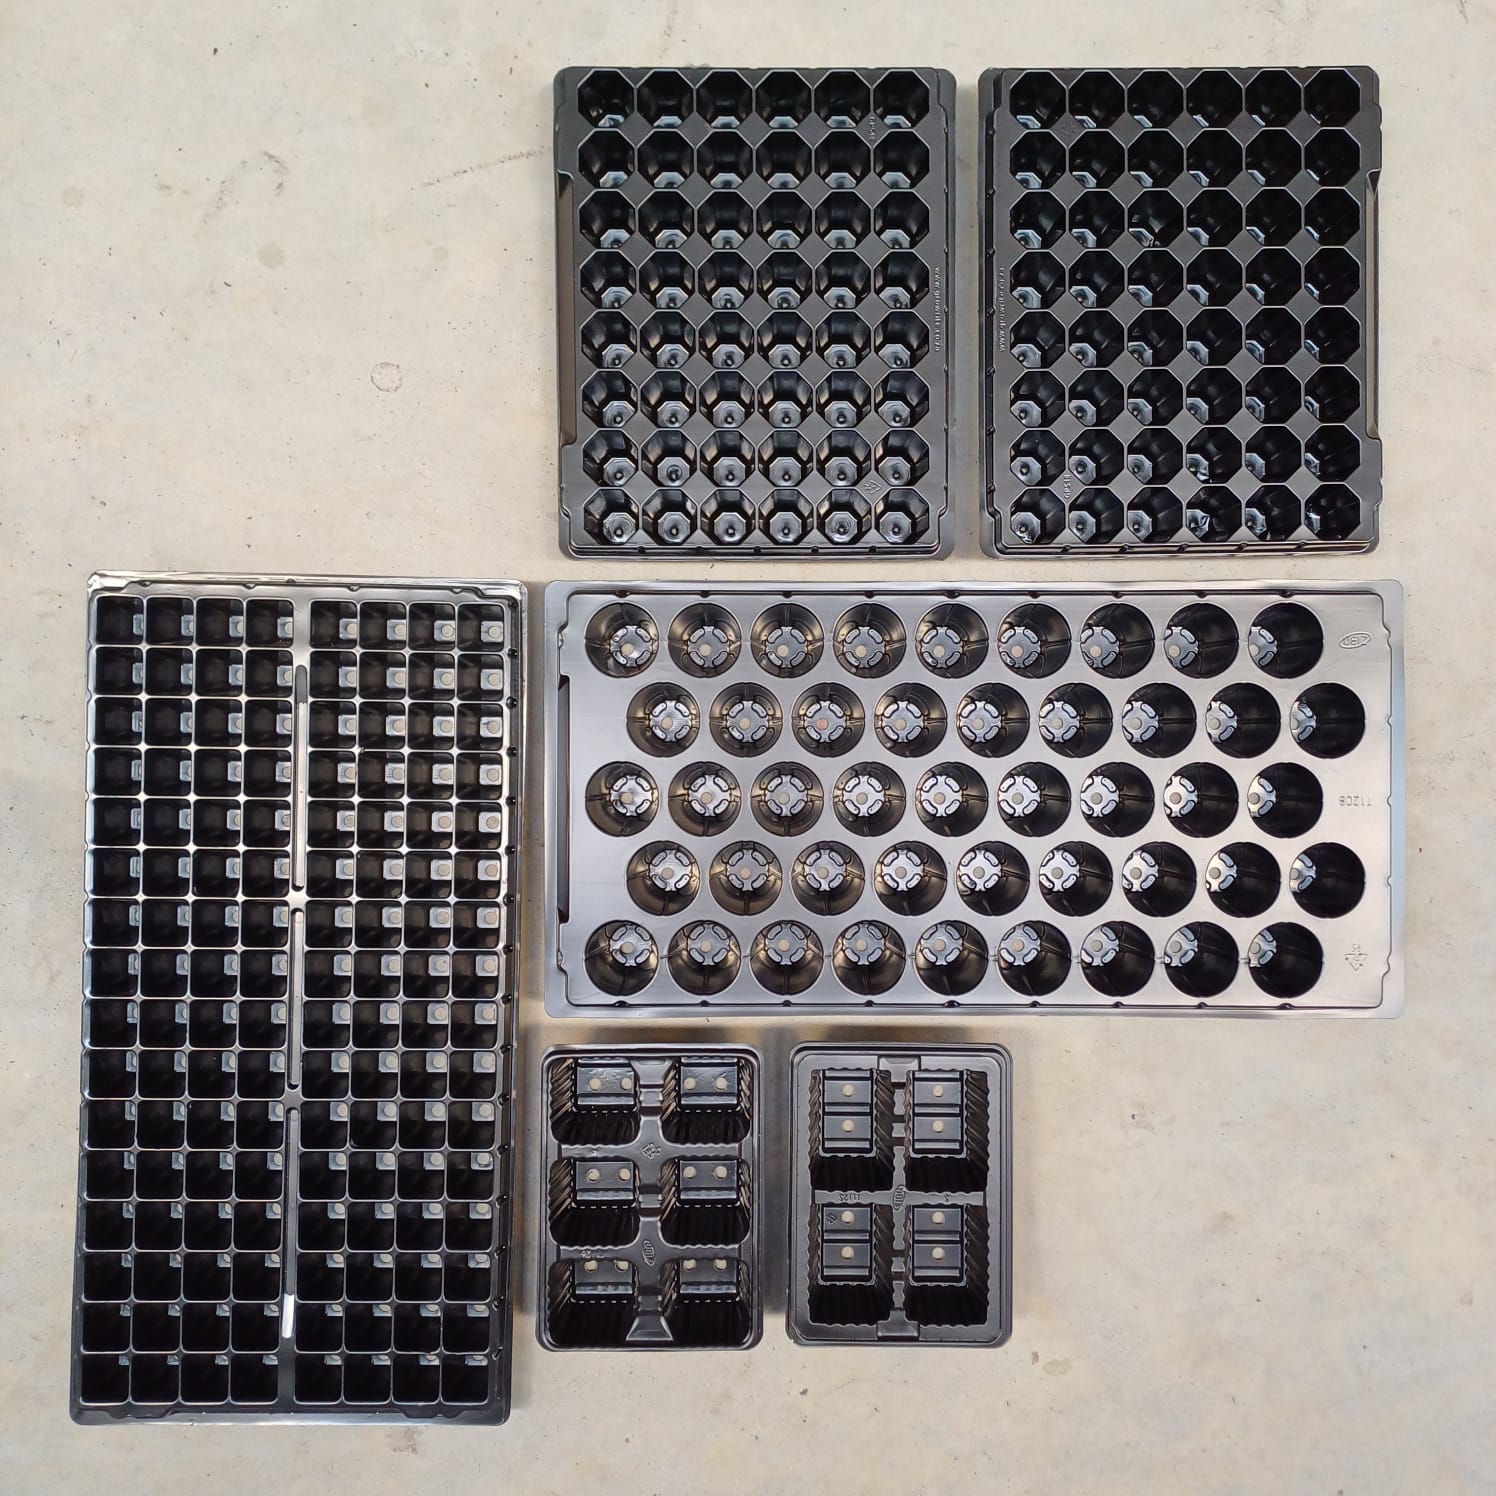
- SEED TRAY WITH CLEAR HUMIDITY DOME
- ROOTING HORMONE – You will need a good quality gel, liquid or powdered rooting hormone. Although you can use a powdered rooting hormone, in our opinion they are much harder to work with resulting in a reduced success rate.
- SPRAY BOTTLE WITH WATER
- RUBBING ALCOHOL
Before You Start
This might sound obvious, but you should only take cuttings from healthy plants. The healthier the mother plant, the better success you will have with your clones. You should take a few more cuttings than you need and then select the best ones to use and dispose of the rest.
You will need to leach the nitrogen out of the mother plant(s) by watering them heavily with pH adjusted water only (no fertilizer) for two or three days before you take the cuttings. This is an important step because the nitrogen stored in the plant will retard rooting.
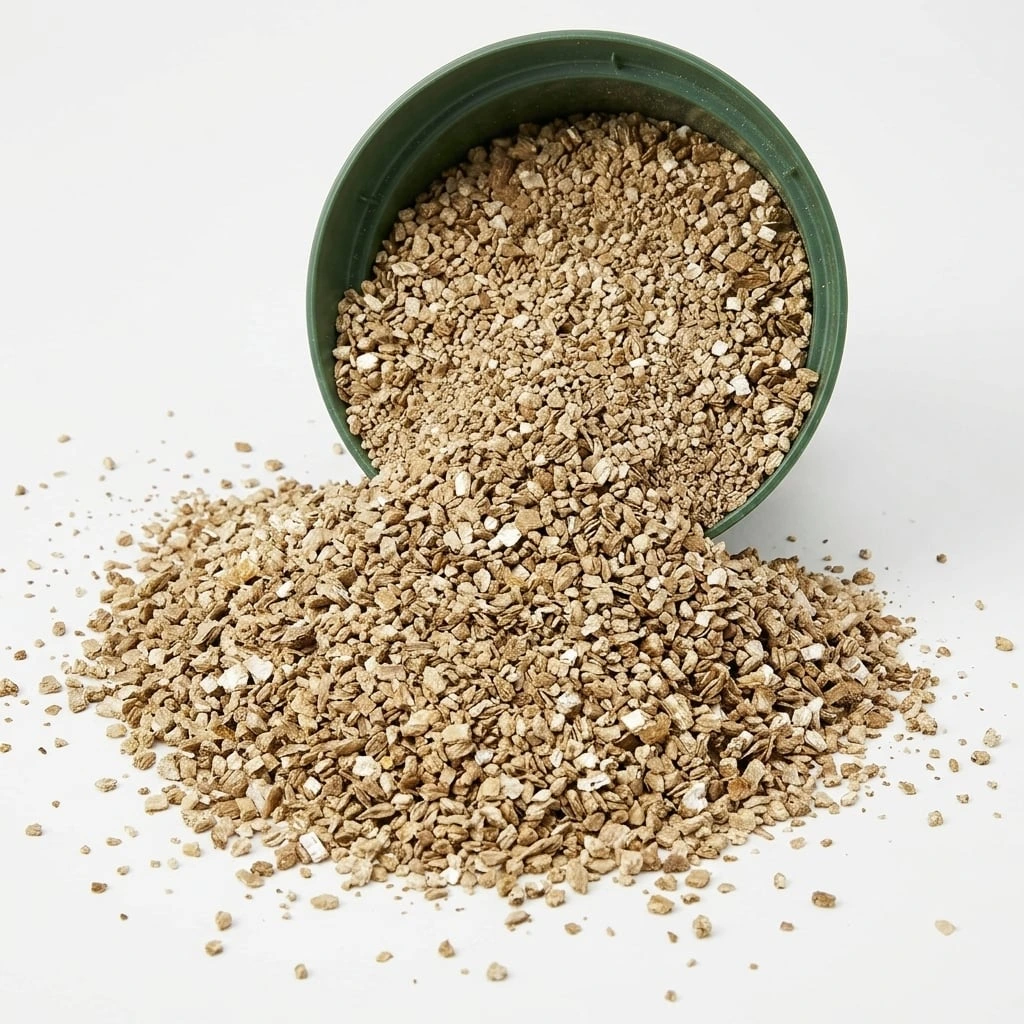
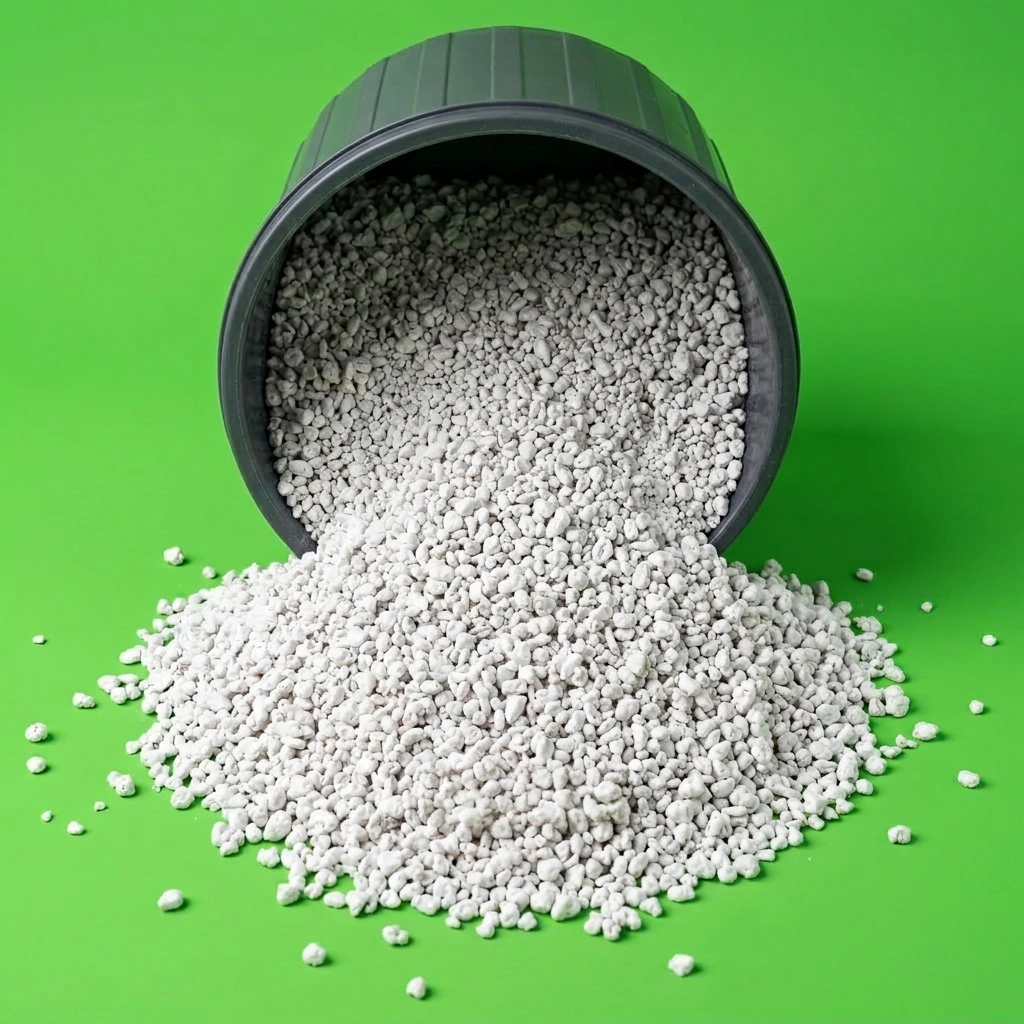
Decide what you are going to use for growing medium. Most people use Jiffys, Rockwool or Oasis cubes. You can also use many different mediums successfully. Use plastic cups with holes cut in the bottom to hold coconut fiber, a Perlite & Vermiculite mix or other loose type growing medium. .You will need to pre-soak your growing medium before you start, using pH balanced water. Distilled water is the best thing to use, but any good, chlorine free water source will work. (NOTE: Most growing medium need to be soaked in pH 5.5 to pH 6.5 water. Rockwool needs to be soaked for 24 hours with water adjusted to a pH of 4.5 to 5.5).
Make a hole in the top of the growing medium which is about the same size or a little smaller than the stem of the cutting. You do not want to force the cutting into the growing medium.
It is critical that you sterilize everything before you start, because cuttings are very susceptible to fungus, viruses and diseases until they root. Use rubbing alcohol on your hands, the razor blade and the cutting block. Rinse the shot glass (or whatever you are using) with alcohol, dry it and then fill it 3/4 full with rooting hormone, and set it aside for now.
Work quickly but carefully. When you make the cut that separates the clone from the mother, you must get it into the rooting hormone as quickly as possible to prevent air from getting pulled into the stem. Please be careful not to cut yourself with the razor blade. (The lawyers made us say that).
Take the Cuttings

 Take a growing tip from your plant 3″ to 6″ long with at least one leaf internode, two is better but not always possible. (A leaf internode is where the leaf connects to the stem, See diagram 1).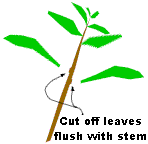
 With a Sharp single edge razor blade, carefully cut off one or two leaves (or small branches) flush with the stem. (See diagram 2).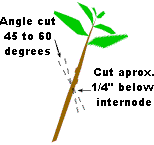
 Make a cut approximately 1/4″ below the internode(s) where you just trimmed the leaves. Cut at a 45 to 60 deg. angle. (See diagram 3). Hold the back-up block tightly behind the stem where you are going to cut. This supports the stem and protects your fingers. Make this cut as quick and clean as you can as you do not want to tear or crush the stem.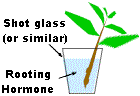
 Quickly insert the cutting into the rooting hormone (See diagram 4). If you are using a liquid hormone you can let the cutting soak for 30-60 seconds. With a gel type hormone you just dip the cutting and then insert it into the growing medium. If you are using a powdered hormone you need to wet the stem with water and then carefully roll it in the powder.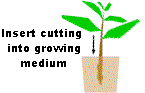
 Gently insert the cutting into the growing medium (see diagram 5). Do not push the cutting all the way thru the medium. You need to leave room for the roots to develop. Make sure that the cut(s) you made at the leaf internode(s) are below the surface of the growing medium.
- Lightly pack the growing medium up against the cutting. Make sure there is good contact between the cutting and the growing medium.
Care and Feeding Instructions
You have successfully taken cuttings. Now the challenge is to keep them alive long enough to root. The cuttings are obviously very vulnerable at this point and must be handled with care. If you follow the steps below you should have few problems.
- Once you have your cuttings in the growing medium, mist them with the spray bottle filled with water and place them in the tray. Mist the inside of the clear humidity dome and place the dome over the tray. (NOTE: The cuttings need some ventilation and a couple of small holes in the dome will usually do the trick).
- Remove the dome and mist the cuttings 2 or 3 times a day. This keeps the cuttings from drying out and also changes the air under the dome. This step is critical as the cuttings have no way to replenish lost moisture until they develop roots. Mist the inside of the dome and replace on tray. The humidity under the dome needs to be about 90% until roots appear on the cuttings. (NOTE: Be careful that the air under the dome doesn’t get too warm. If it does, you may have to increase the amount of venting, as well as the number of mistings per day). Cuttings need to be kept between 72° and 80° Fahrenheit. Too hot or too cold will inhibit root growth. If you live in a cold climate you may need a heated propagation mat.
- The cuttings will require lighting at this time. Dappled sunlight is fine if you are leaving your cuttings outside. Indoors, we recommend fluorescents. They are cooler and more energy efficient then metal halides and provide equal to superior results. Keep in mind that fluorescent lights don’t penetrate so you must keep the lights 1-2 inches above the plants.If you are using a Metal Halide or High Pressure Sodium fixture you must keep the cuttings much further away (2 – 3 feet away for 175 – 400 watt bulbs and 4 – 6 feet for a 1000 watt bulb).The lights should be turned on for 18 to 24 hours a day.
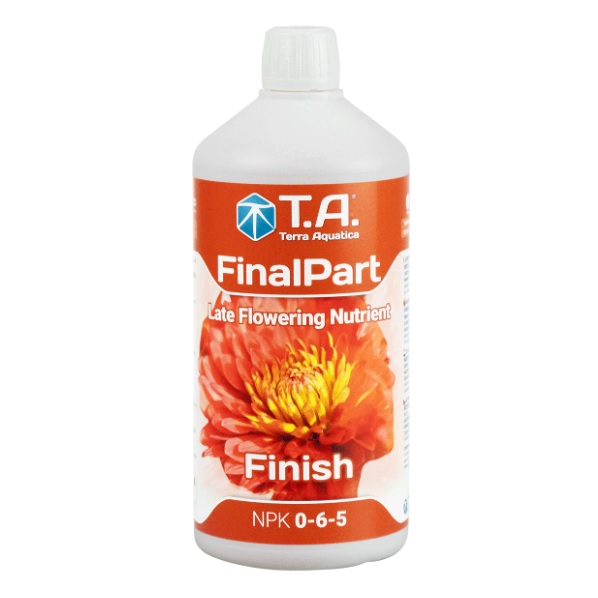
- To water the cuttings we suggest using either plain distilled water or RO (reverse osmosis) water. It is recommended but not absolutely necessary to add a very mild fertilizer such as Olivia’s Cloning Solution or Wilder’s Clone Root Concentrate at this time. You can also use your hydroponic fertilizer at 1/4 strength. Don’t forget to adjust the pH of the water/nutrient solution at 5-5.5 for Rockwool and 5.5-6.5 for most everything else.
- Water the cuttings approximately every 2 days unless you live in a very dry climate in which case you will probably need to water every day. Never let the growing medium dry out. Do not let it set in water either, or the stem will rot. A great method for watering the cuttings is to use two trays, one with holes and the other without. Fill the tray without holes about half way with water and then slowly lower the tray with the holes and the cuttings, into it. Let sit for a few moments and then slowly raise the tray back out and let it drain. Small Hydroponic systems are available to automate the watering cycles of the cuttings, greatly reducing the amount of manual labor.
- After about a week you can test to see if your plants have started to root. Remove the humidity dome and leave it off for an hour or two. If the plants have not wilted at all then they probably have enough root development to support themselves. If no wilt is noticed leave the dome off. If they are wilted, spray the cuttings and dome and replace the dome on the tray. Once you have determined that the plants can support themselves, stop misting the cuttings and leave the humidity dome off. (NOTE: Once the plants have roots, constant misting can actually be harmful to the plants).
- If the lower leaves start to turn yellow and die, don’t worry. This is perfectly normal. It is the plant feeding off of itself to sustain life, moving valuable nutrient and water from the older growth. Do not remove any dead growth until the plant is well rooted. If you remove the dying growth the plant can starve and die completely.
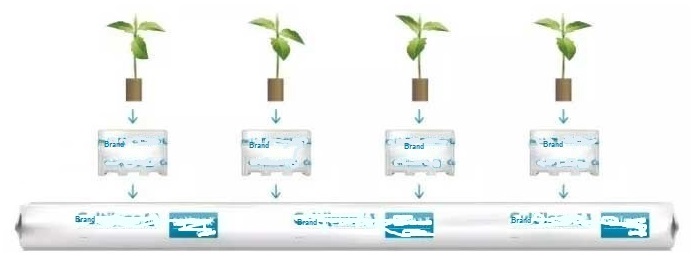
- When the cuttings are completely rooted you can move them into your hydroponic system or the soil.
Final Notes
Cloning is easy once you get the hang of it. Just remember that every step must be done properly. Skipping a small, seemingly insignificant step can have very significant consequences. We suggest that the first time you take cuttings, take twice as many as you need. With a little practice this method of propagation should produce a 95 to 100 percent success ratio.
The use of distilled or RO water can drastically increase your success ratio, especially if you don’t have good quality water where you live. Do not continue using distilled water once the plants have gone into the hydroponic system or soil as it can lead to mineral deficiencies. RO or other chlorine/chloramine free water should be used at this time.
This is one tried and true method of propagation that works well on most types of plants. There are several other ways to clone your plants, including, air layering, dividing, and tissue culture. There are even hydroponic systems that do a good job of rooting cuttings using no growing medium at all. Once the cuttings form roots you simply transplant them to whatever growing medium you will be using.