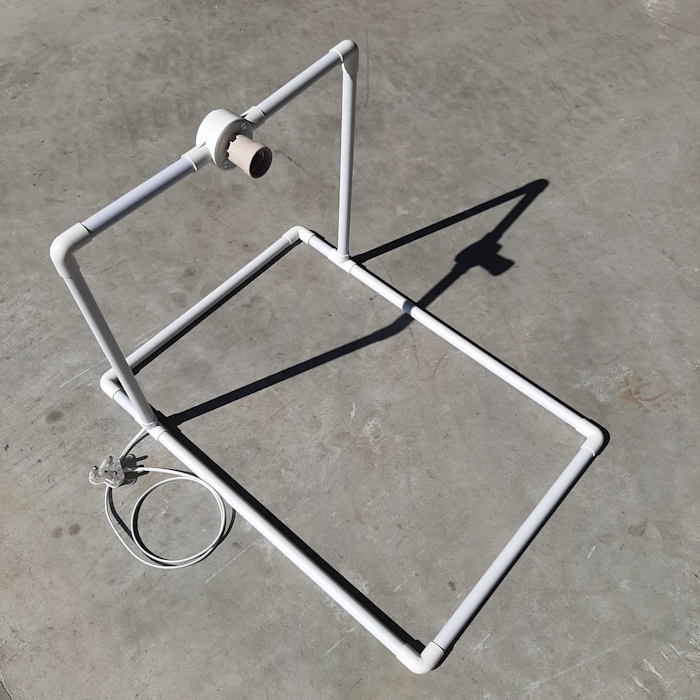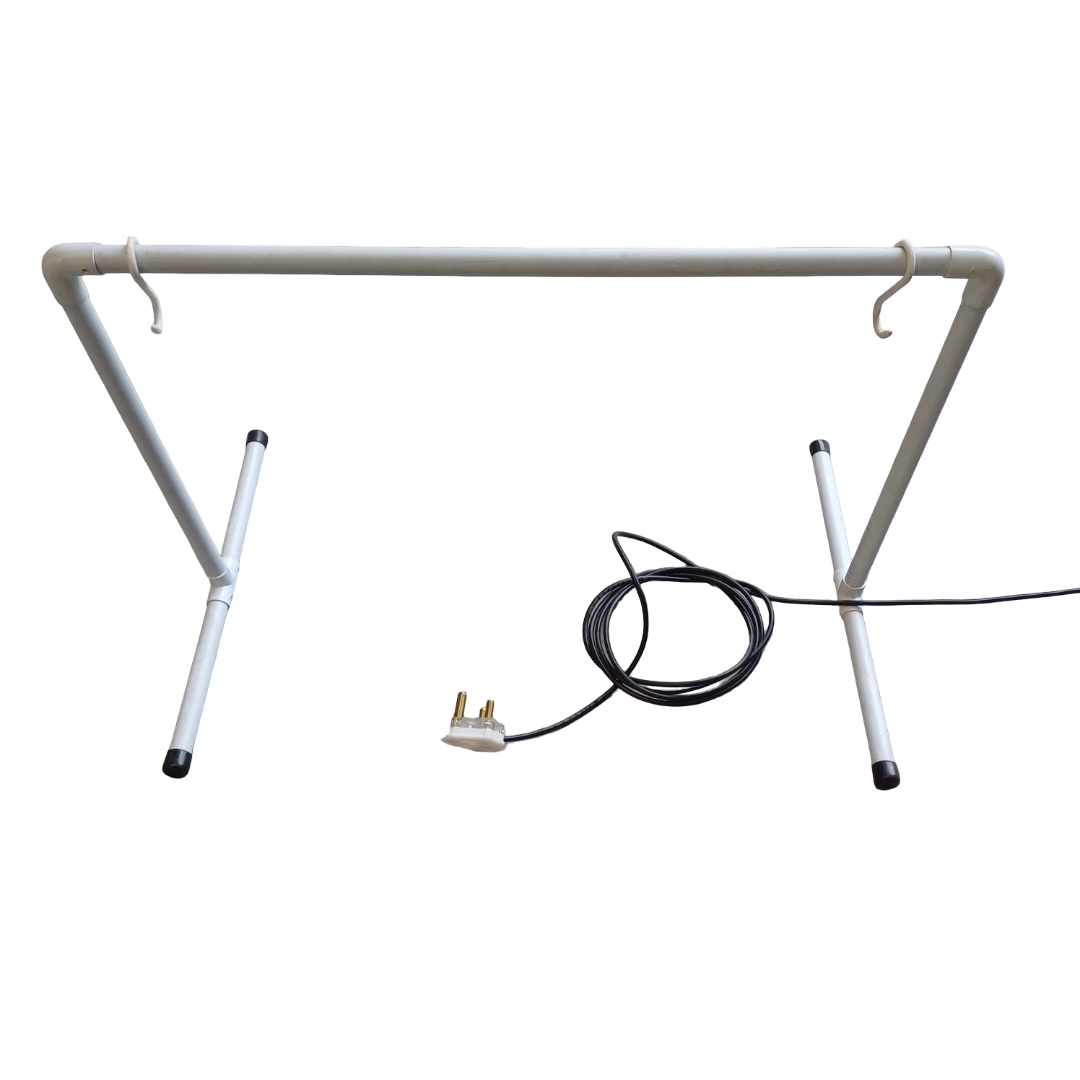
60cm T8 LED Fixture Hanging Frame
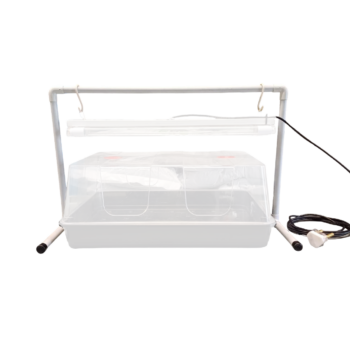
The 60cm T8 LED Fixture Hanging Frame is an excellent choice for indoor plant enthusiasts looking to enhance their propagation setup. Crafted from durable PVC, this sturdy frame is designed to easily suspend a 60cm T8 LED fixture and its 2 LED tubes (sold separately) above an XL propagation dome, ensuring optimal light distribution for successful germination and cutting propagation. The frame includes a length of 1.5m electrical cord and a 3-pin plug for straightforward installation and use.
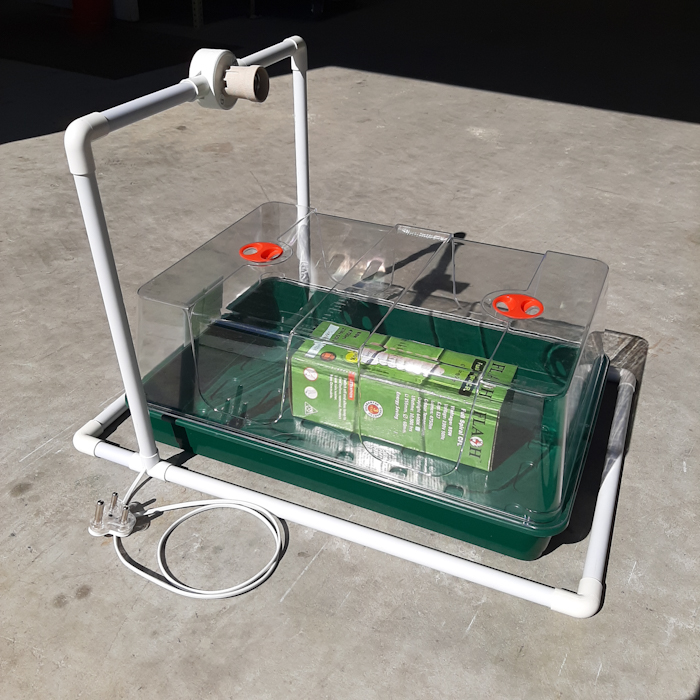
Hanging the LED close to the top of the dome is crucial for optimal plant growth. This positioning maximizes the light output from our 18W fiture sets to the propagation dome, promoting seedling development and robust cutting rooting. The proximity ensures that plants receive the maximum amount of light with the least electicy usage.
Ideal for hobbyists and professional growers alike, this hanging frame offers a quick, easy and efficient solution for their propagation lighting, making it a must-have addition to any propagation station. Please note that the 6000K T8 LED fixture is not included and must be purchased separately.
With our T8 LED fixture installed in the hanging frame, the frame offers 29cm vertical and 62cm horizontal clearance for a propagation dome, allowing even the Garland XL High Dome Propagator to fit underneath.