📢 Important Notices: As part of our ongoing efforts to streamline operations and serve you more efficiently from one central hub, our Claremont store has integrated into our Brackenfell headquarters — we look forward to seeing you at our Brackenfell store!
Promo Ribbon
🍍✨ This month, get a FREE
Renegade Seed Co seed if your
cart totals R 500.00 or more! ✨🍍🔥 🔞
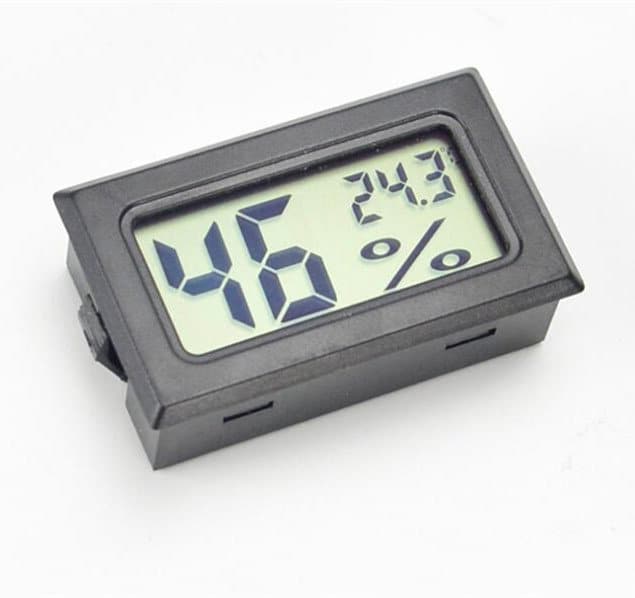
The Mini Digital Hygrometer is great for spot checking conditions in your growing area, and can also be thrown into curing jars to monitor their humidity and temperature! This handy little unit takes the guesswork out your operations without breaking the bank and can also be built into propagators and incubators if need be.
With its compact size of 48 x 28.6 x 15.2 mm this unit will fit almost anywhere.
Batteries: 2 x LR44 / AG13 button cells ( INCLUDED )
Handy Tip:
Use a Boveda Humidity Pack with your unit in an empty airtight jar to find out more about the factory calibration of your specific mini digital hygrometer – make a note of what your hygrometer reads after being left in the jar for a while against what percentage Boveda Pack was put into the jar with it, for future reference.
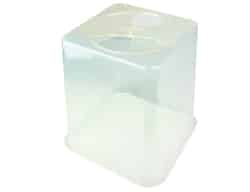
The Autopot Clear Propagation Lid fits snugly onto our 15L pots, so they’re the ideal add-on for both the Autopot easy2grow kit when using 15 litre pots and the Autopot 1Pot system.
These lids can be used to protect young plants from the elements, or to root cuttings directly in your Autopot sets!
Simply pot a young plant and fit the Clear Propagation Lid on top with the vents closed. Over the next few weeks gradually open the vents to harden the plant off finally removing the Clear Propagation Lid completely during the day. If the weather is still a little chilly, you can continue to use the lid at night. Your young plants will be protected from the elements and will enjoy a healthy start in life.
The Autopot Clear propagator Lid fits on the Autopot 15L pot. This makes it suitable for use with the 1 pot system or an Easy2Grow (when using 15L pots!) When the plant is young, place the Autopot Clear Propagator Lid over the pot and gradually open the vent. This is best done over the course of a few weeks, unless the plant gets too big for it! If night temperatures are still getting a bit low, you can still use the lid to protect the plant.
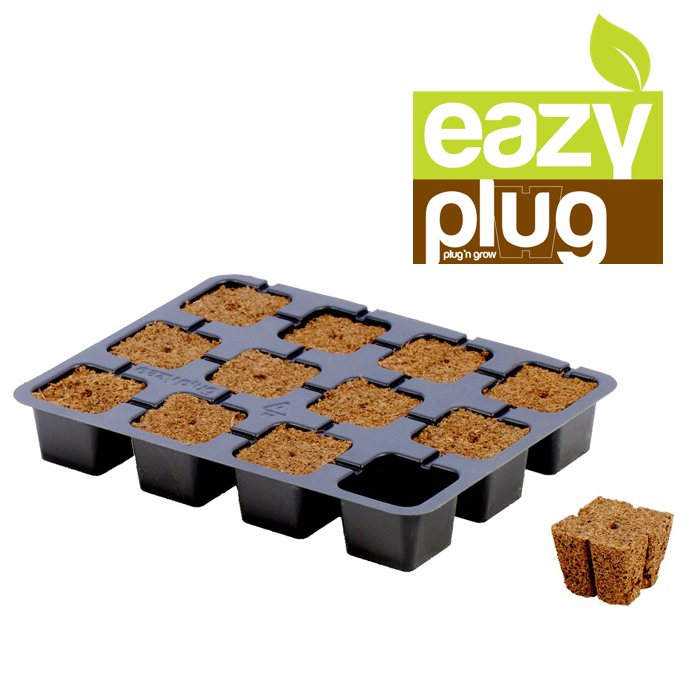
EazyPlug has, with its organic materials and our special way of bonding, a predetermined pH and EC value and a fixed air-to-water ratio. The EazyPlug is very easy to use. Just make sure that the plug always can drain the excess water and you cannot overwater it. Because the growing conditions are always optimal, the EazyPlug creates a very fast and powerful rooting and germination.
Germinating seeds
Fully moisten the plug and put your seed in the seed hole. Put a thin layer of fine coco coir on top of the plug (optional) and spray thoroughly with water. Make sure the plug can drain excess water and put it away in a humid and warm environment. Then wait to see the miracle happening. It is that simple!
Strike cuttings
Fully moisten the plug and put your cutting all the way into the cutting hole. Make sure the EazyPlug can drain excess water and put it away in a humid and warm environment. No rooting gel or powder is necessary.
Easy to transplant
The Eazy Plug will always remain firmly bonded together as a whole. This minimizes the risk on root damage during sorting, transplanting or replanting, thus preventing the plant from diseases.
Limitless shelf life
The Eazy Plug is supplied dried, making it clean and lightweight, with limitless shelf life and no risk of molds. It takes water back up very easily and quickly, retaining all of its former characteristics.
Eazy Plug Characteristics
Model : square plug
Air-to-water ratio : 20-80
Size : 3.5 x 3.5 x 3.0 cm
EC : 1.0 *
pH : 5.8 *
Volume : 0.035 L
Weight dried : 3 gr
Features
• Self regulating
• Easy to control
• Air pruning for substantial enlargement hair root mass
• Suitable for gradual drier cultivation
Compatibility
With all known growing media, like Rock Wool, coir pith, black and white
peat, garden soil, potting soil, soil-less mixes, bark fines and wood
mulch, sand and grit, wood fibers, perlite, pumice, clay and
vermiculite.
Employability
In hydroponic systems like eb&flow, drip-feed (recovery and nonrecovery), nutrient film technique, wicksystems, floating platforms,
deep water culture, aquaponic systems, dry hydroponics soil (indoor and outdoor)
Re-moistening time when completely dehydrated
Pouring from above < 10 seconds
Immerge < 10 seconds
Drip-feed – depends on the ratio
Watering from below < 45 seconds
Composting
100% in normal composting conditions, no industrial composting necessary.
Declared: bonding of components has no discernible effect on compostability.
Safety
Declared: material meets safety requirements of REACH.
Toxicity
Declared: non-toxic.
Denature after cultivation
Plug contains cutting stem and callus and can, in potency, contain a regenerative capacity and needs to be denatured by either a strong
acid or base, concentrated inorganic salts, organic solvents (alcohol or chloroform), radiation or heat.
How to strike cuttings with Eazy Plug
Step 1: Moisten the Eazy Plug
Allow the Eazy Plugs to fully suck up water with a pH of 5.8.
Let it drain out excess water. Do not squeeze out or dry the plugs. Eazy Plugs are self-regulating and will only hold the water they need for an optimum moisture level and an optimum air-to-water ratio. The plug will feel much heavier than Rock-Wool, but that’s normal.
Step 2: Take cutting For a more detailed explanation of taking cuttings click here.
Cut diagonally at a 45 degree angle just below a node or stem swelling, making sure to keep at least 3 nodes above your intersection.
Remove all but a couple of leaves. Scrape a little of the outer layer at the bottom of the cutting, but not all around. Cut off ⅓ of the top of remaining big leaves.
Step 3: Root stimulator
If you want to make use of a rooting powder (for example Rhizopon), dip the base of your fresh cut cutting into the rooting powder.
Step 4: Insertion in Eazy Plug
Insert the cutting into the Eazy Plug cutting hole. Make sure to insert it deeply enough, completely to the bottom of the cutting hole.
Step 5: Put into propagator
Put the tray with Eazy Plug into a propagator.
Close the lid of the propagator and shut any present air vents to keep the humidity inside the system.
Step 6: Remoistening and fresh air
Only remoisten the Eazy Plug after 3 days and keep on doing that every 3 days until the first appearance of roots.
Briefly open the propagator every day for a little fresh air.
Open the air vents slightly at the earliest after 4-5 days. Humidity should remain above 80%, as too much loss of humidity can seriously effect your success rate.
Step 7: Assure drainage of excess water
Make sure Eazy Plug is able to drain excess water at all times, so it can always self-regulate the correct amount of moisture. Never let the bottom of the Eazy Plug touch water, as the moisture absorption of Eazy Plug is exceptionally good and the Eazy Plug will quickly become too wet, which will have a negative effect on the rate of success.
Step 8: Open air vents
After the first roots have developed, you can gradually open the air vents further in order to acclimate the cutting to a less humid environment.
Step 9: Transplant
In 7-9 days from start your cutting should have grown its roots throughout the Eazy Plug and it is time to transplant them.
Conditions for developing roots:
1. Temperature: The optimum soil temperature for striking roots is 22º Celsius. Above 23º Celsius, you must consider a rise in failure rate.
2. RH (humidity): RH of 80-95% is perfect. As the cutting needs its energy for striking roots, the moisture level of leaves and stem should remain intact.
3. Light: In the first few days the cutting will form callus, from which the roots will start to grow. In this phase the cutting only needs tempered light with a broad spectrum (regular assimilation light). After the development of roots the amount of light can be gradually increased.
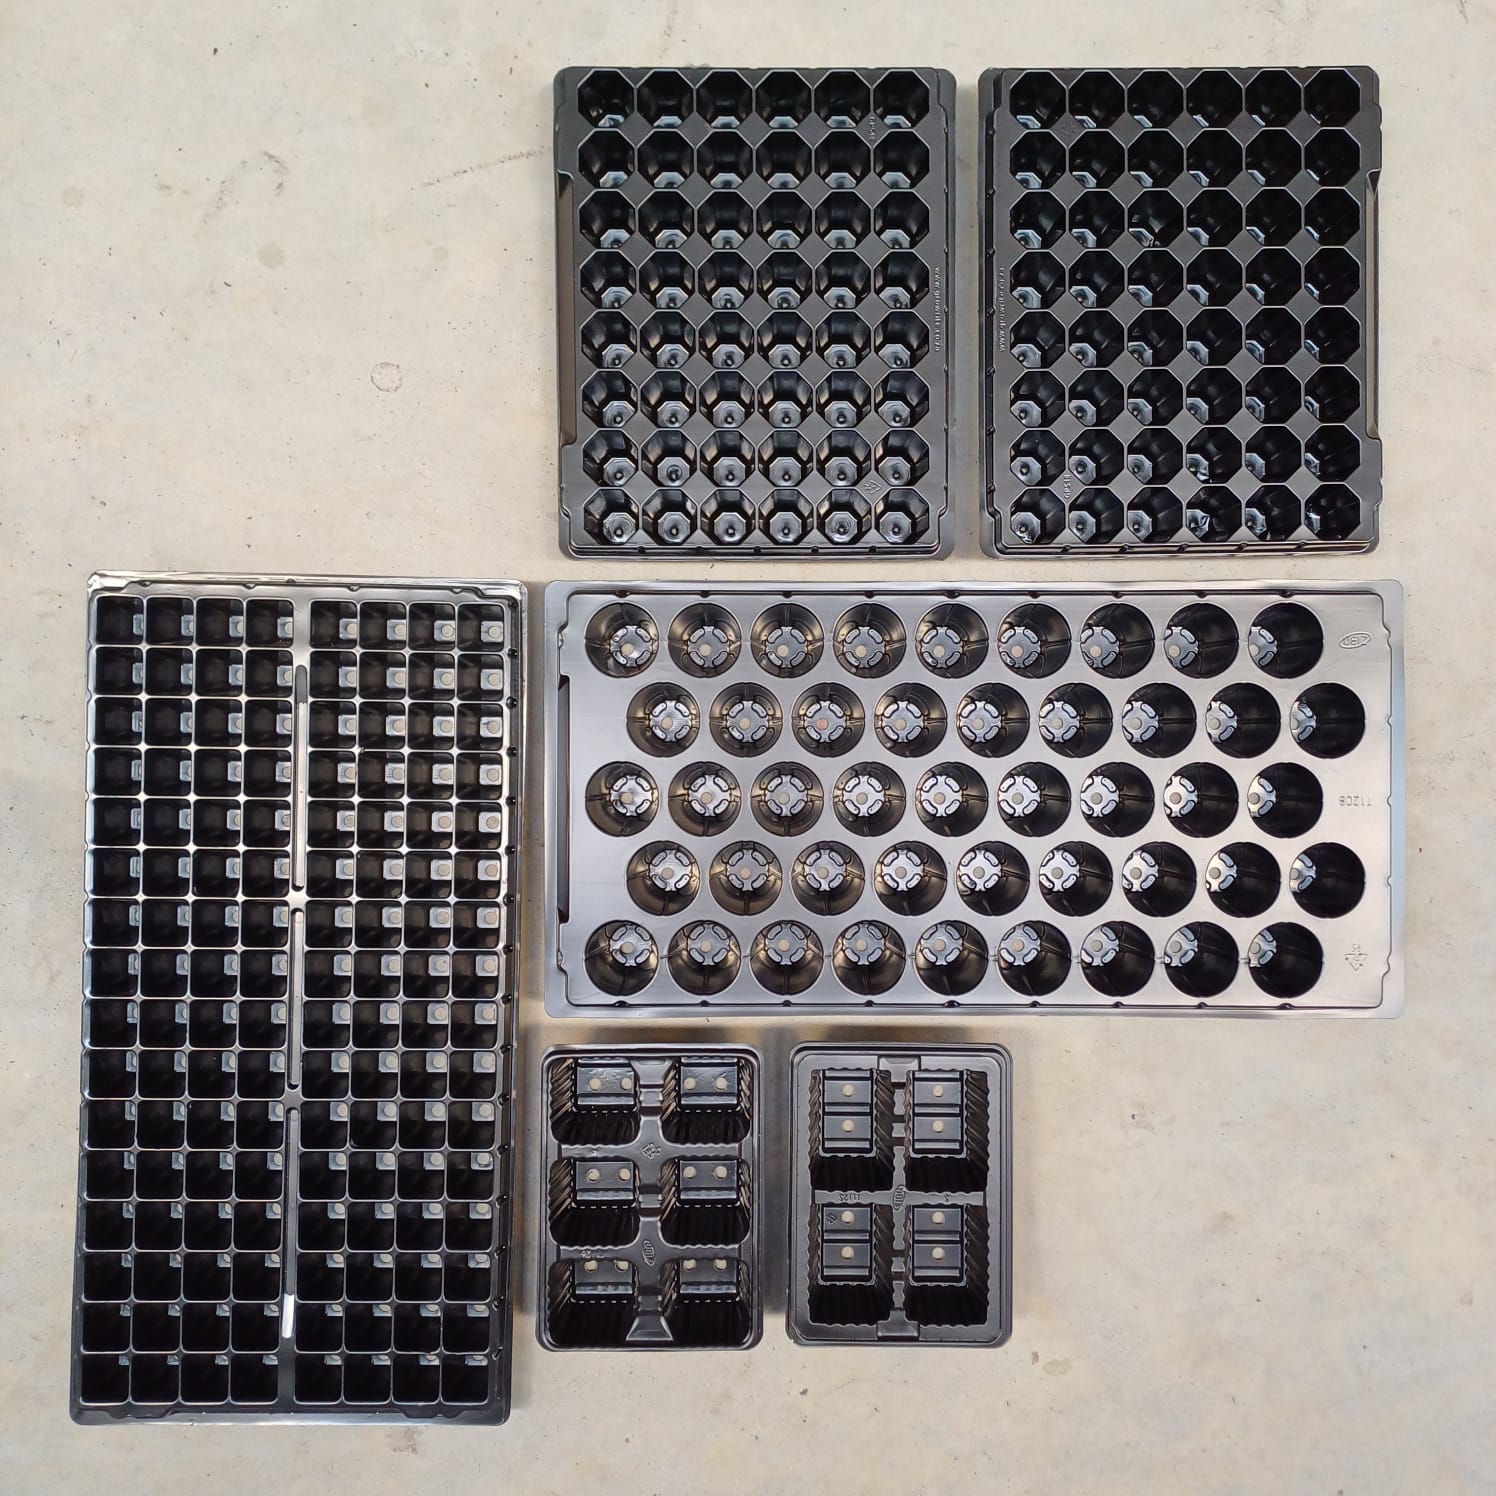
128 Cell Tray (For Preforma Plugs / loose seedling mix. Preforma plugs will sit proud inside this shallow tray, as they are taller than the tray)
Length: 540mm. Will need to be trimmed shorter along one short side (using scissors / box cutter) to fit flat into a ROOTiT Large Propagator.
Width: 275mm
Shape: Square
Cavity Top: 28mm
Cavity Bottom: 15mm
Depth: 40mm
Seeds:
Soak seeds for 24 hours in distilled water
Plant seeds twice as deep as the width of the seed.
Germinating seeds 21°C – 32°C (25°C), shadowy warm location. Top of Fridge
Keep evenly moist
Rockwool: slice open – root must be 1.5cm long so doesn’t heave up and out.
7 – 10 days: Cotyledon Leaves
10 – 14 days: True leaves
Can apply quarter-strength Nuts now
Growing medium – evenly moist
Keep growing medium 2°C – 5°C warmer than ambient air temperature
Ambient temperature 24°C – growing medium 25°C – 27°C
Seedlings need at least 16 hours of light for 2 to 3 weeks
We use cookies to ensure that we give you the best experience on our website. If you continue to use this site we will assume that you are happy with it. Privacy policy
 cart totals R 500.00 or more! ✨🍍🔥 🔞