DWC-Hybrid Usage Instructions
Our DWC system is a hybrid system that combines two important hydroponic technologies: Hydro (drip) and DWC (roots immersed and suspended).
This system provides advantages of both techniques:
- Easy installation, usage and maintenance.
- Substantially shortens growth and flowering cycles compared to traditional systems, giving you more harvests per year!
- Continuous feeding and watering to roots from day 1.
- Extra Oxygenation of nutrient solution using the air pump & air-stone.
- Water is always moving. This avoids the formation of fungi, algae, mold, etc.
- No waste of water or nutrients. Clay substrate is also reusable.
The kit includes:
- 45 Liter Tank base (reservoir) with water level tube
- Lid with hole and plug for easier access to water in order to check pH
- A submersible pump & feeding manifold
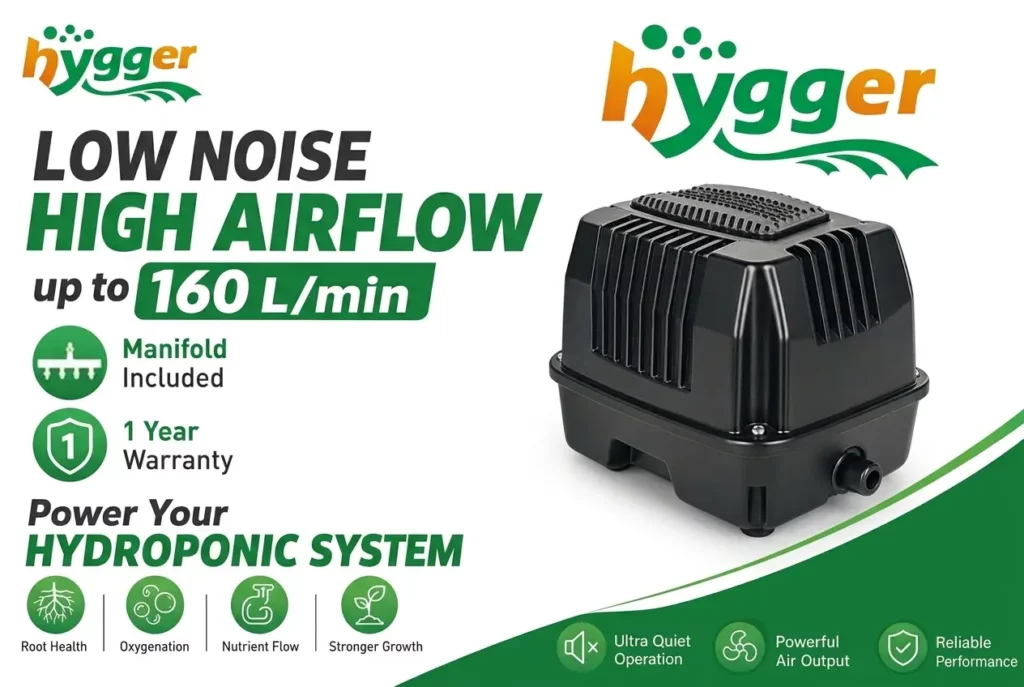
- Air Pump & Air Stone
- Net Pots (mesh baskets) ( Either 2 or 4 pots, depending on model )
- LECA (clay pellets)
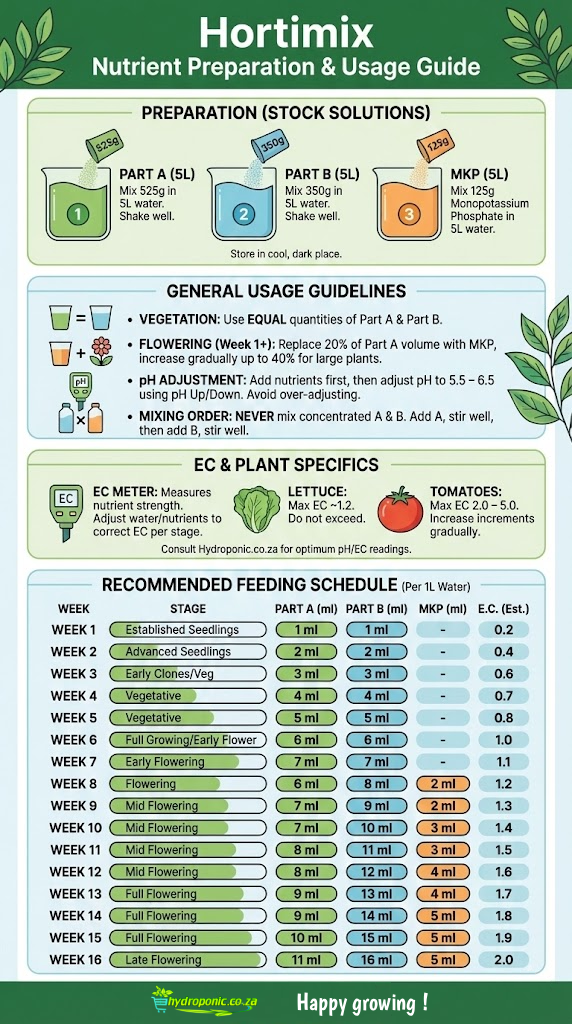
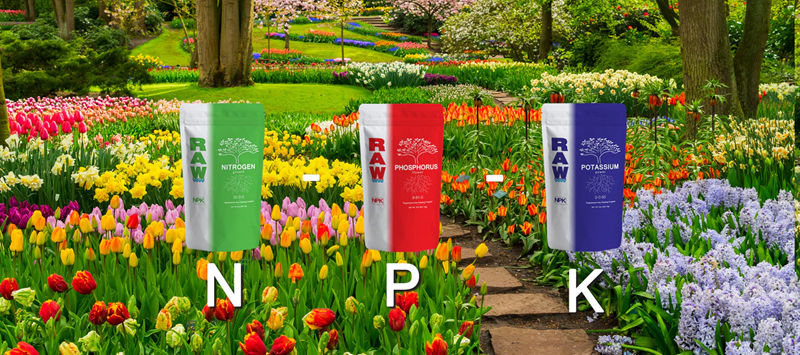
- Nutrient Kit (A, B & MKP)
- Ph Test Kit
- Ph Up Solution
- Ph Down Solution
- 3 x 5lt Containers to store your concentrated nutrients.
What do you do with this kit?
- Find suitable spot to place your system – take temperature and available light (for your plants) into consideration, as well as being able to work around your system comfortably & safely as your plants grow. The temperature of the water in the reservoir should also remain at close to 18-22C, to avoid pathogens that cause root-rot.
- Switch the outlet-pipe around to the outside of the reservoir. The end-cap could be pulled off to allow easy drainage into a bucket when nutrient solution needs to be replaced. A water valve may optionally be attached to the outlet (Not included in kit)
- Cut off 2 pin plug from submersible water pump. Thread through grommet next to Air Pipe (outwards) and connect to 3 pin plug ( Not included ).
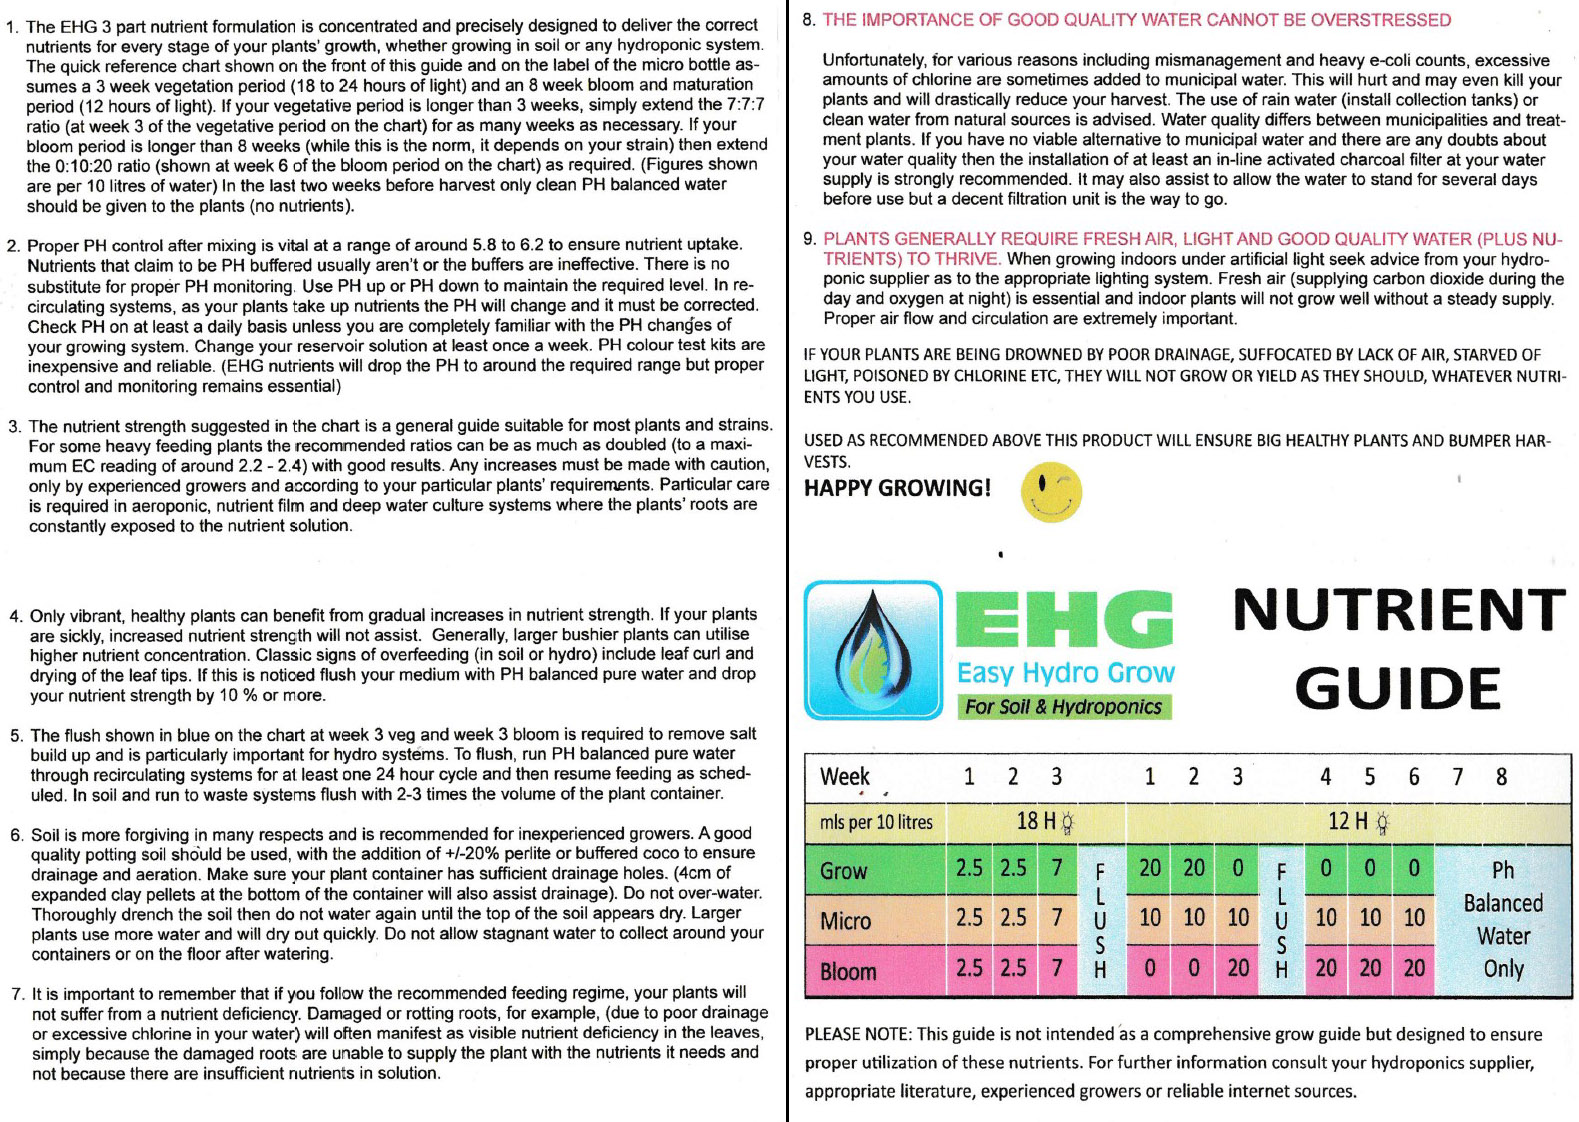
- Fill the reservoir system with about 40 liters of water and add Nutrients (as per Hortimix Nutrient Instructions)
- Check pH of water. Average pH is about 6 (for more info https://hydroponic.co.za/hydroponics-quickstart/plant-phecppm/)
- Connect Air-stone to clear tubing in reservoir and submerse in water.
- Connect the other end of the clear tubing to the air pump, which is to be kept outside of the water reservoir, away from contact with any water!
- Connect the submersible water pump to the watering manifold using only the straight, basic fitting. (Do not use the water pump’s venturi fitting or its clear air tubing)
- Place lid on reservoir.
- Rinse LECA (clay pellets) in water before first use – until run-off is clear.
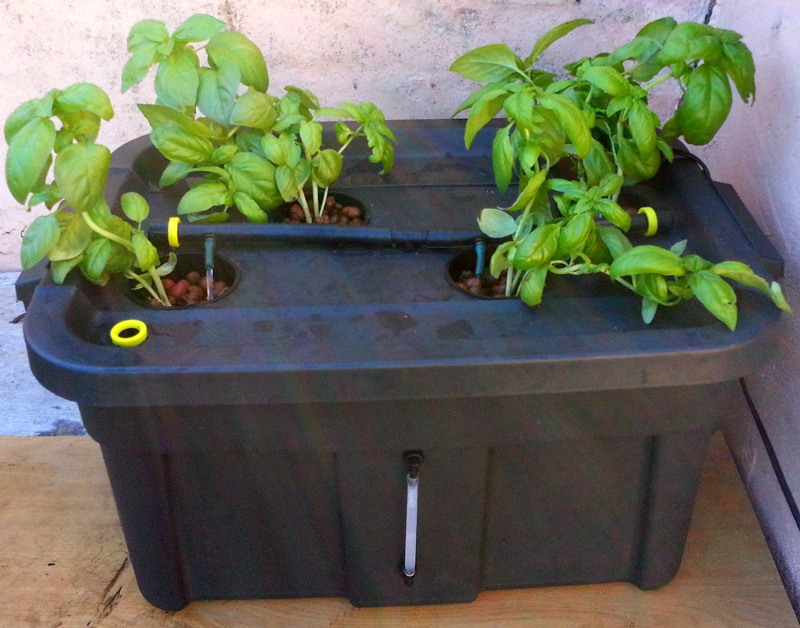
- When adding new plants (usually seedlings), gently rinse off potting medium from their roots with water, before planting into net pots, using your LECA (clay pellets)
- Connect pumps (water & air pump) to power and switch on. Make sure plant roots (NOT stem bases) are adequately covered by water flow once pump is on.
- Never let your system or plant roots run dry !

Start Growing!
A new mix of slightly stronger nutrient solution should be made once every week (or two, if lazy). You can use what’s left of the old solution to feed lawns or other plants. (Mix new batches according to Hortimix Nutrient Instructions)
You will soon be able to judge how much water your plants will use in a week, and may adjust your new mixes accordingly – but it’s ALWAYS better to have a little more solution in your system than what appears to be needed.
You may also decide to increase the water levels in your system as time goes by – bigger plants will have larger root systems suspended in the reservoir, and will use more water per week than small plants.